Search Shared Files
Found 9 results for automatically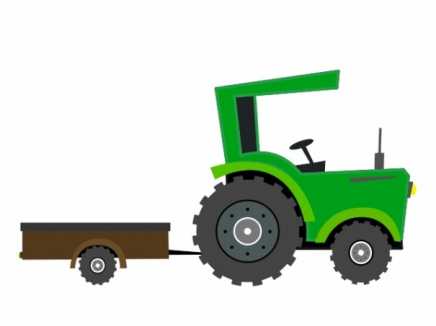
www.animestudiotutor.com/shared_files?id=330
5 December 2016 admin

Included is the script that made this animation possible: BoneWheels aka mk_trans_to_rotate.lua by Mike Kelley, I've also included two icons that you can use.
Script Copyright: Mike Kelley
Website: animatorsforum.com
--- How To Use BoneWheels ---
Copy the script and the icons to your custom tool folder (scripts / tool).
When the parent bone is moved with this tool, at any frame, even when not playing, then children named correctly [parent_number] will automatically rotate. For example, if the parent bone was named B1, then the child would be B1_1
Please watch Mike Kelley's video for a greater understanding on using his script:

www.animestudiotutor.com/shared_files?id=325
3 November 2016 admin
Created with Moho Pro 12
The shadow follows and resizes automatically thanks to smart bones.
www.animestudiotutor.com/shared_files?id=289
19 April 2016 admin
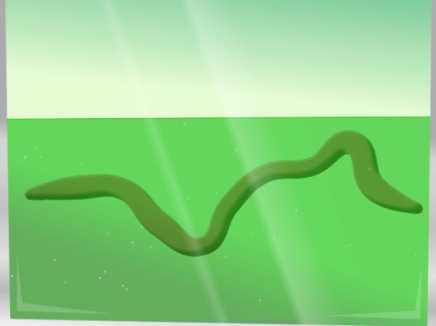
The animation was done automatically by Anime Studio's physics engine.
The worm was just dropped into the 'acid/water' and the program did the rest.
The worm is in a bone layer, and the water uses the force field setting.
(No real worms were harmed in the making of this)
www.animestudiotutor.com/shared_files?id=231
1 October 2015 admin
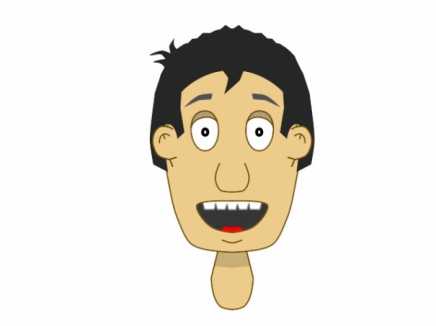
The left part was drawn first, then using a reference layer, the right side was created. (Flipped reference layer).
Although a mask was used to clean the shapes and lines, it would be possible to do this without a mask.
If points are changed on the left part of the face, the right side is updated automatically.

www.animestudiotutor.com/shared_files?id=126
25 July 2014 admin
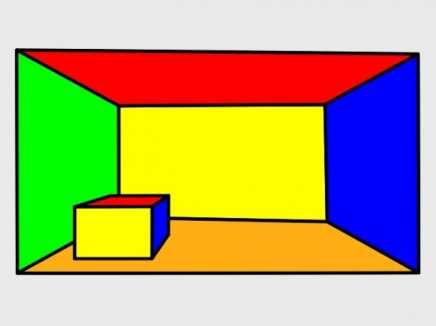
Using bones I move points so that objects appear 3D.
In this example, the two vanishing points are moved with one master bones. Other bones are linked to these bones and move in relation automatically once set.
Move the master bone in frame 1 to see this working.
Click on the other bones, then view their bone constraints and note the settings in 'position control bone'. The values range from 0 (closest to camera) to 1 (next to master)
www.animestudiotutor.com/shared_files?id=124
25 July 2014 admin
Using bones I move points so that objects appear 3D.
In this example, the single vanishing point is moved. Other bones are linked to this bone and move in relation automatically once set.
Move the master bone in frame 1 to see this working.
Using the bone select tool, click on the other bones, then view their bone constraints and note the settings in 'position control bone'. The values range from 0 (closest to camera) to 1 (next to master)
www.animestudiotutor.com/shared_files?id=326
7 November 2016 admin
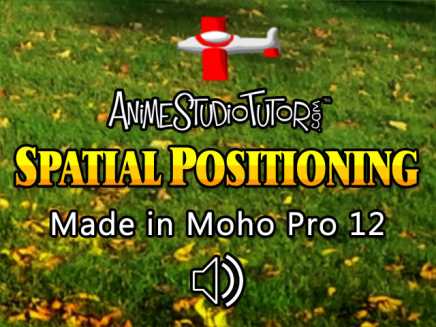
Created in Moho Pro 12.1 - Even the 3D toy plane!
This example shows how you can control the sound position from within Moho.
The audio volume was changed to match the Z axis, but the left and right levels are automatically set by moving the audio layer left and right within the animation.
The 3D plane has a copy for the shadow, and both follow a path for the animation.
If you open the audio layer's properties window, and change to the Audio tab, you should find 'Spatial positioning' checked to enable this feature. Here you can also set and check the audio level.
www.animestudiotutor.com/shared_files?id=398
20 June 2017 admin
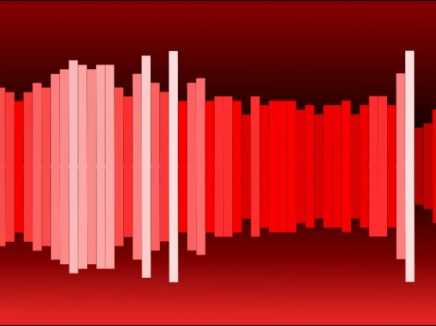
Switch layers can be controlled by an audio file.
Switch layer settings > Switch > Select audio sync source.
The layers are selected automatically from the bottom (quietest) to the top (loudest).
In this example, the bar has 30 layers, starting from short to long, and grouped into a switch layer which has the audio sync applied to it.
I copied this switch group 60 times to the right, offset by 1 frame, using the Delayed Layer References tool.
I then grouped them all, copied the group, flipped them downwards and moved this new group down.
Music: www.bensound.com
www.animestudiotutor.com/shared_files?id=823
14 July 2023 bigboiiijones
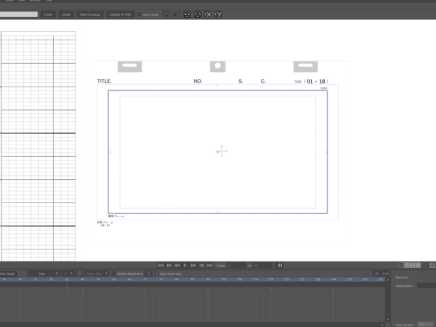
This is a file template that is standard for the Japanese animation industry. It has a working time/frame counter that counts the frames and at every 24 frames 1 second will go up. This was configured with the standard Japanese and American frame rate standard of 24FPS. A timesheet and example timesheet is also included. The timer will stop working at 48 seconds.
Additional info there are two Moho files one with the camera set up for Japanese standard 1080p and one at the traditional layout resolution 2338 x 1653 it is important to note 1080p version is recommended and it will automatically scale up when 4K, 8K, and 16k is set and it will also downscale properly to 720p if needed.
Note in project settings AA is disabled as this is the Japanese anime standard. Reenable as needed.
Showing tutorials 1 to 9 of 9