Search Shared Files
Found 11 results for change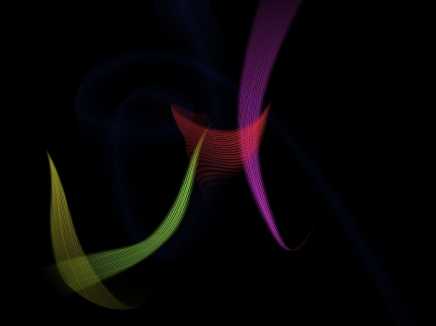
www.animestudiotutor.com/shared_files?id=307
19 August 2016 admin
Bones can change raster images if you change the bones position after frame 0.
Here the images are simply moved over some bones to create this twisting effect.
This could be used for falling items (paper, money etc.), smoke, special effects etc.
Created using bones and images in Moho Pro 12
This can also be done in older versions of Anime Studio Pro

www.animestudiotutor.com/shared_files?id=225
21 September 2015 dabossman69
Lego man created in Anime Studio
Change faces, hair and eyes with switch layers
www.animestudiotutor.com/shared_files?id=540
2 June 2018 admin
I had to use 3D layers to get this to work.
styles included to change colours.
www.animestudiotutor.com/shared_files?id=93
6 March 2014 justoshow
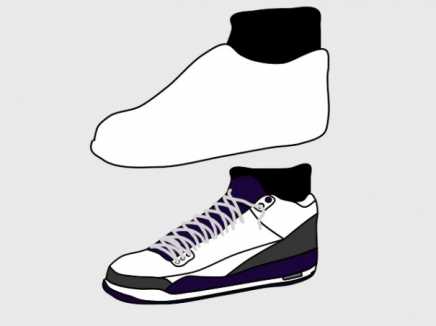
A shoe template I just made for my series. I like to change my character clothes for each show and as needed so I created this as a template.
www.animestudiotutor.com/shared_files?id=157
31 January 2015 barnarizs
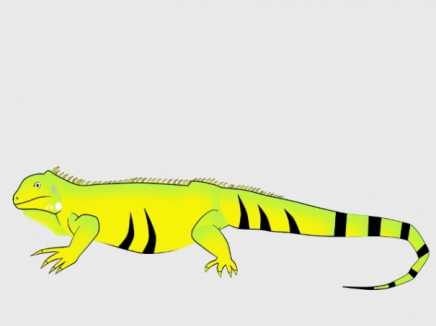
My Iguana can change its colour 
www.animestudiotutor.com/shared_files?id=306
17 August 2016 admin
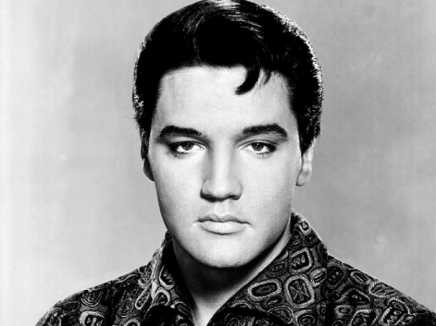
See how Elvis morphs into a lion!
Made in Moho Pro 12 using the new Smart Warp feature.
www.animestudiotutor.com/shared_files?id=342
1 February 2017 thedirector
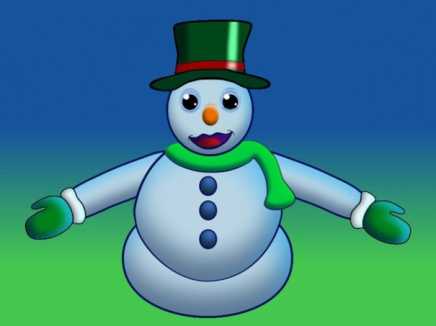
After the submitted Xmas contest animation I continued to work on the snowman. He can now turn his head side to side up and down and the body can turn to one side. Added a smart bone for the scarf. Cleaned up the rig so he can turn and bend without getting all distorted. Also a few styles to easily change colors of buttons, scarf, gloves & nose. Enjoy!!

www.animestudiotutor.com/shared_files?id=196
30 May 2015 admin
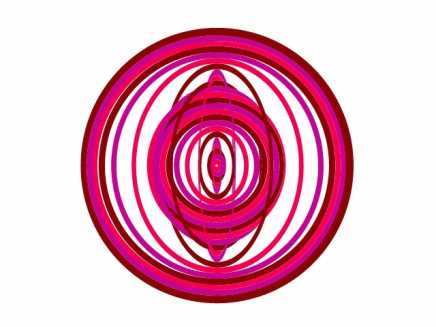
This kaleidoscope effect was made in Anime Studio Pro 11 using the new reference layer option.
There is one large image that moves inside a masked layer that has been copied. Some of the copies have been flipped to add to the effect.
You only need to change the image and animation of the image layer to have a go.
Render times may be slow on older machines.
There are a lot of possibilities to explore.

www.animestudiotutor.com/shared_files?id=278
7 March 2016 admin
Making an animated GIF image in Anime Studio is very easy.
You can change the happy birthday text to anything you like.
The shadow is a referenced layer so that text will also need to be changed.
The image uses very few colours - which is best for a GIF.
To get the best results, render a frame where all the used colours are showing, then click the 'Sample GIF colours' button in the render preview window. Then File > Export Animation > Format: Animated GIF > select as few colours as possible from the 'Animated GIF Options' drop down. It be be worth turning off dithering for better cleaner results.
www.animestudiotutor.com/shared_files?id=326
7 November 2016 admin
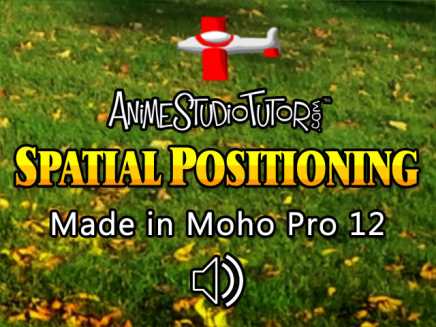
Created in Moho Pro 12.1 - Even the 3D toy plane!
This example shows how you can control the sound position from within Moho.
The audio volume was changed to match the Z axis, but the left and right levels are automatically set by moving the audio layer left and right within the animation.
The 3D plane has a copy for the shadow, and both follow a path for the animation.
If you open the audio layer's properties window, and change to the Audio tab, you should find 'Spatial positioning' checked to enable this feature. Here you can also set and check the audio level.
Showing tutorials 1 to 10 of 11