Search Shared Files
Found 9 results for settings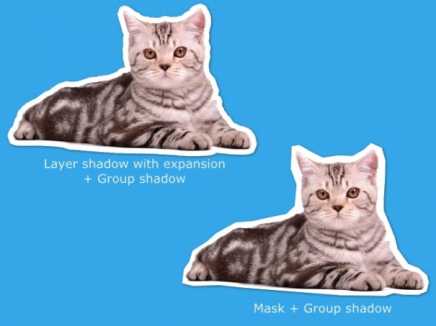
www.animestudiotutor.com/shared_files?id=255
5 December 2015 admin
Here are two ways to create a paper cutout (cut-out) effect in Anime Studio.
The first is with the layer shadow set to Offset: 0, Blur: 0, Expansion: 10 and the colour set to white and Alpha: 255.
This has then been placed within a group with a small shadow.
The second is with a white mask that is larger than the image.
This has also been placed within a group with a small shadow.
There is a third way, but you have less control, and it doesn't look as good:
File > Project Settings > Render Style > Layer Style > Cutout
Included is a version for Anime Studio Pro 9 and Anime Studio Pro 11.
www.animestudiotutor.com/shared_files?id=512
5 March 2018 admin
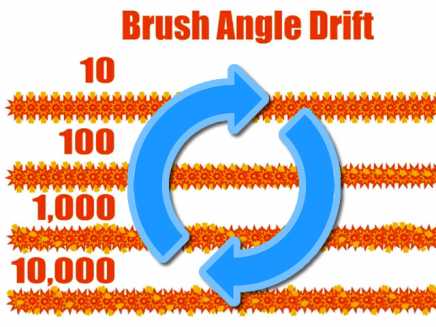
For an animated rotating brush > Brush Settings > Brush angle drift > set to a high number
Then extend the line in your animation to view the effect.
Below are examples for an angle of 10, 100, 1,000 and 10,000
www.animestudiotutor.com/shared_files?id=405
27 June 2017 admin
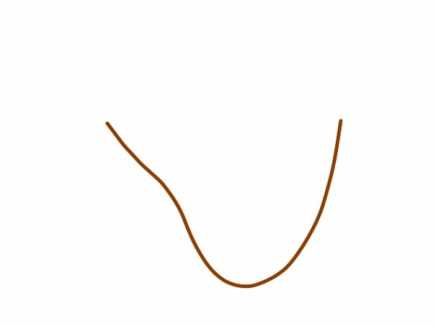
All the layers are in a group with the physics option on.
The bone layer has 'Pivot on origin' selected in its physics settings.
Using the 'Bone Physics' tool whilst on frame 0, and with the bone layer selected, select the last bone in the chain, then select 'lock tip' from the top menu.
www.animestudiotutor.com/shared_files?id=99
16 April 2014 cscorbridge
When viewing the YouTube MAKE SURE TO SET YOUR VIEWING SETTINGS TO HD720 AND GIVE IT TIME TO LOAD...it was a big file and I couldn't reduce the bit-rate without losing quality.
Citations: (All from Royalty Free Sound Effects - Sounddogs.com)
1) Dimension Sound Effects; Countryside; SFX - Birds
2) Production Music - Innocent Love 4
) Production Music - Midnight Lovers - Beautiful alto sax melody

www.animestudiotutor.com/shared_files?id=126
25 July 2014 admin
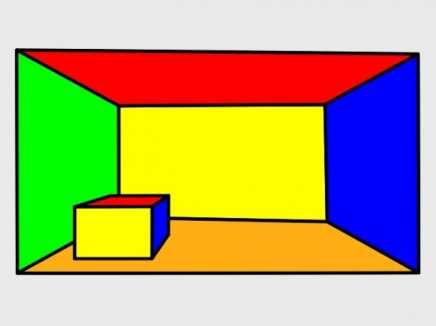
Using bones I move points so that objects appear 3D.
In this example, the two vanishing points are moved with one master bones. Other bones are linked to these bones and move in relation automatically once set.
Move the master bone in frame 1 to see this working.
Click on the other bones, then view their bone constraints and note the settings in 'position control bone'. The values range from 0 (closest to camera) to 1 (next to master)
www.animestudiotutor.com/shared_files?id=124
25 July 2014 admin
Using bones I move points so that objects appear 3D.
In this example, the single vanishing point is moved. Other bones are linked to this bone and move in relation automatically once set.
Move the master bone in frame 1 to see this working.
Using the bone select tool, click on the other bones, then view their bone constraints and note the settings in 'position control bone'. The values range from 0 (closest to camera) to 1 (next to master)
www.animestudiotutor.com/shared_files?id=458
14 November 2017 admin
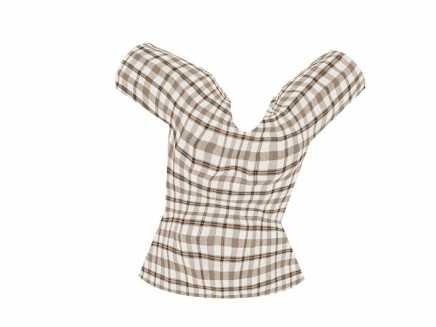
This example file uses the smart warp layer feature of Moho Pro 12 to morph the texture.
A grid was first drawn, then 'draw' > 'Triangulate 2D Mesh' was selected to create the suitable warp layer. This grid was then applied to the image layer via layer settings > Vectors > Smart warp layer. On frame 1, this grid was then moved to the curves of the t-shirt.
Masking and bones were also used.
Before: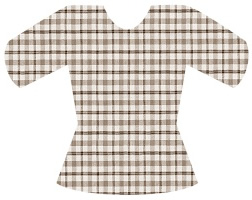
After:
www.animestudiotutor.com/shared_files?id=398
20 June 2017 admin
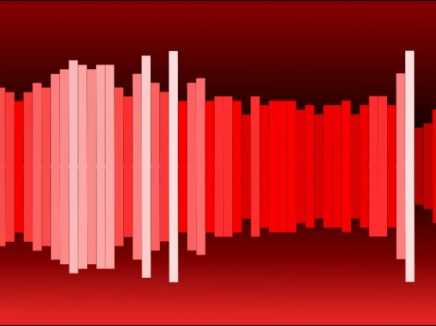
Switch layers can be controlled by an audio file.
Switch layer settings > Switch > Select audio sync source.
The layers are selected automatically from the bottom (quietest) to the top (loudest).
In this example, the bar has 30 layers, starting from short to long, and grouped into a switch layer which has the audio sync applied to it.
I copied this switch group 60 times to the right, offset by 1 frame, using the Delayed Layer References tool.
I then grouped them all, copied the group, flipped them downwards and moved this new group down.
Music: www.bensound.com
www.animestudiotutor.com/shared_files?id=823
14 July 2023 bigboiiijones
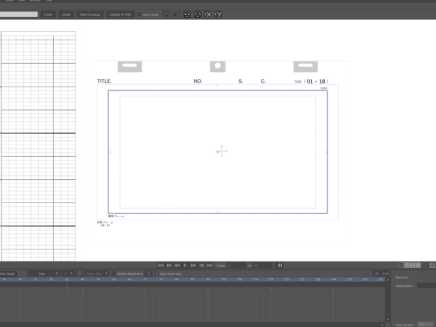
This is a file template that is standard for the Japanese animation industry. It has a working time/frame counter that counts the frames and at every 24 frames 1 second will go up. This was configured with the standard Japanese and American frame rate standard of 24FPS. A timesheet and example timesheet is also included. The timer will stop working at 48 seconds.
Additional info there are two Moho files one with the camera set up for Japanese standard 1080p and one at the traditional layout resolution 2338 x 1653 it is important to note 1080p version is recommended and it will automatically scale up when 4K, 8K, and 16k is set and it will also downscale properly to 720p if needed.
Note in project settings AA is disabled as this is the Japanese anime standard. Reenable as needed.
Showing tutorials 1 to 9 of 9