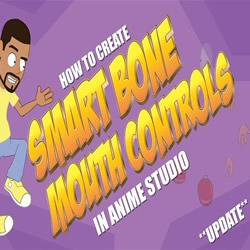
Using Smart Bones With Switch Layers Update
Tutorial Number: 357
Made with: Anime Studio Pro 11.2
Level: Intermediate
This is a follow up to the "Switch Layer Dials" tutorial. It is just a faster easier way to set up a smart bone to control switch layers!
In this video I'm using it to rig a mouth switch layer to a smart bone and then us the bone to help me lip sync!
A 1000 thank you's to Victor Paredes for clueing me in on how to set this up the easy way and to show me how to use the copy previous keyframe function in Anime Studio! Awesome all day!!!
Rate This Tutorial
Once you have completed this tutorial, please give it a rating:
2 Rates
(5)
Comments
-
Member Since: 10 April 2014Last Logged In: 28 July 2023Comments: 9Tutorials Completed: 40This feature comes in handy for hand positions also. I like to skip the switch layer method though, and just draw the different mouth positions by moving the point data around on each keyframe. I'm a little unclear about what Copy Previous Key feature brings to the table, it seems as long as the step method is in play the keyframe still jumps to the proper mouth position.

Other Tutorials In This Category
-
 Layer Outline Effect in Anime Studio 101 Rating (5)
 -
 Patch Layers2 Rates (4)
 -
 Nested Interpolation in Moho 12.41 Rating (5)
 -
 Lighting with Photo Shop and Anime Studio4 Rates (5)

Please use the 'reply' button on a comment if you wish to reply to someone.