
Photoshop Elements To Anime Studio
Tutorial Number: 320
Made with: Anime Studio Pro 9.5
Level: Basic
This is a quick tutorial on using the Adobe Photoshop Elements export script to save your layer structure and import into Anime Studio. It will also work with Photoshop if you have that.
In this tutorial we're using Adobe Photoshop Elements 14 and Anime Studio Pro 9.5
1. Create your file in Elements
Adobe Photoshop Elements 14 has some handy presets that can help when creating artwork for your animations.File > New or Ctrl+N (Windows) cmd+N (Mac) to create a new document.
You need to make sure your artwork is the correct size for your project. Too small and you'll need to scale up in Anime Studio, which will look bad. Too big, and your file sizes will hinder speed and the images won't look their best.
1920x1080 is a good size at the moment (2015) for TVs which are 1080p, but as 4K and larger come out, then this will change.
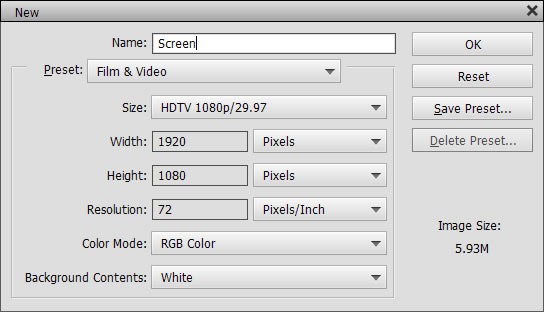
FIGURE 1-1 Handy presets for HDTV
You'll probably notice handy guides showing at this point. You should try to keep your main artwork inside these guides (Safe zones).
If they aren't showing, you can turn them on from View > Guides
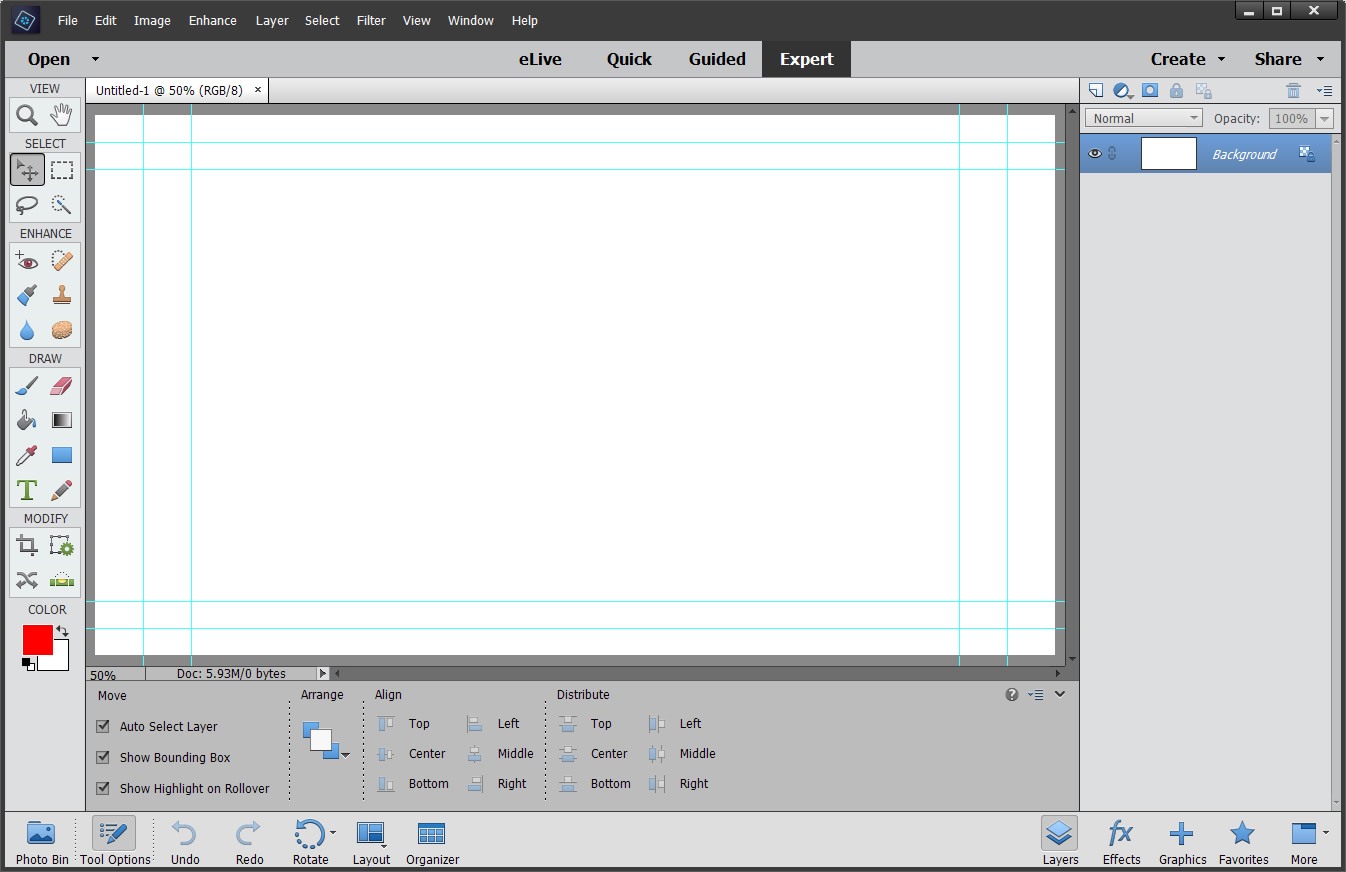
FIGURE 1-2 Helpful guides
Make sure you're in the 'Expert' mode, not eLive, Quick or Guided, so we can use layers.

FIGURE 1-3 Expert Mode
Now create your artwork on as many layers as you need.
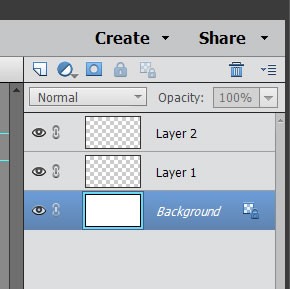
FIGURE 1-4 'Background' layers won't be transparent so can be removed
If you only use one layer, then you can simply save your file as a .jpg image, or .png if you have a transparent background, and import that into Anime Studio.
But if you have more than one layer then you can use the export script. This is really handy if you have many layers. For example if you've created a character with arms, legs, hands etc on different layers.
2. Export Script
Anime Studio ships with a handy export script for Photoshop.On Windows it can be found here:
C:>Program Files>Smith Micro>Anime Studio Pro 9.5>Resources>Support>Extra Files>Export Layers To Anime Studio.jsx
On the Mac it's Applications>Righ-click Anime Studio icon>Show package contents>Contents>Resources>Support>Extra Files>Export Layers To Anime Studio.jsx
I've also uploaded a copy here: http://www.animestudiotutor.com/link/297/
Copy this file to your desktop or somewhere that you can get to again later.
This script will export the layers as single cropped .png images within a group and save it as an Anime Studio file.
A quick way to run this file is to simply open the script from within Elements:
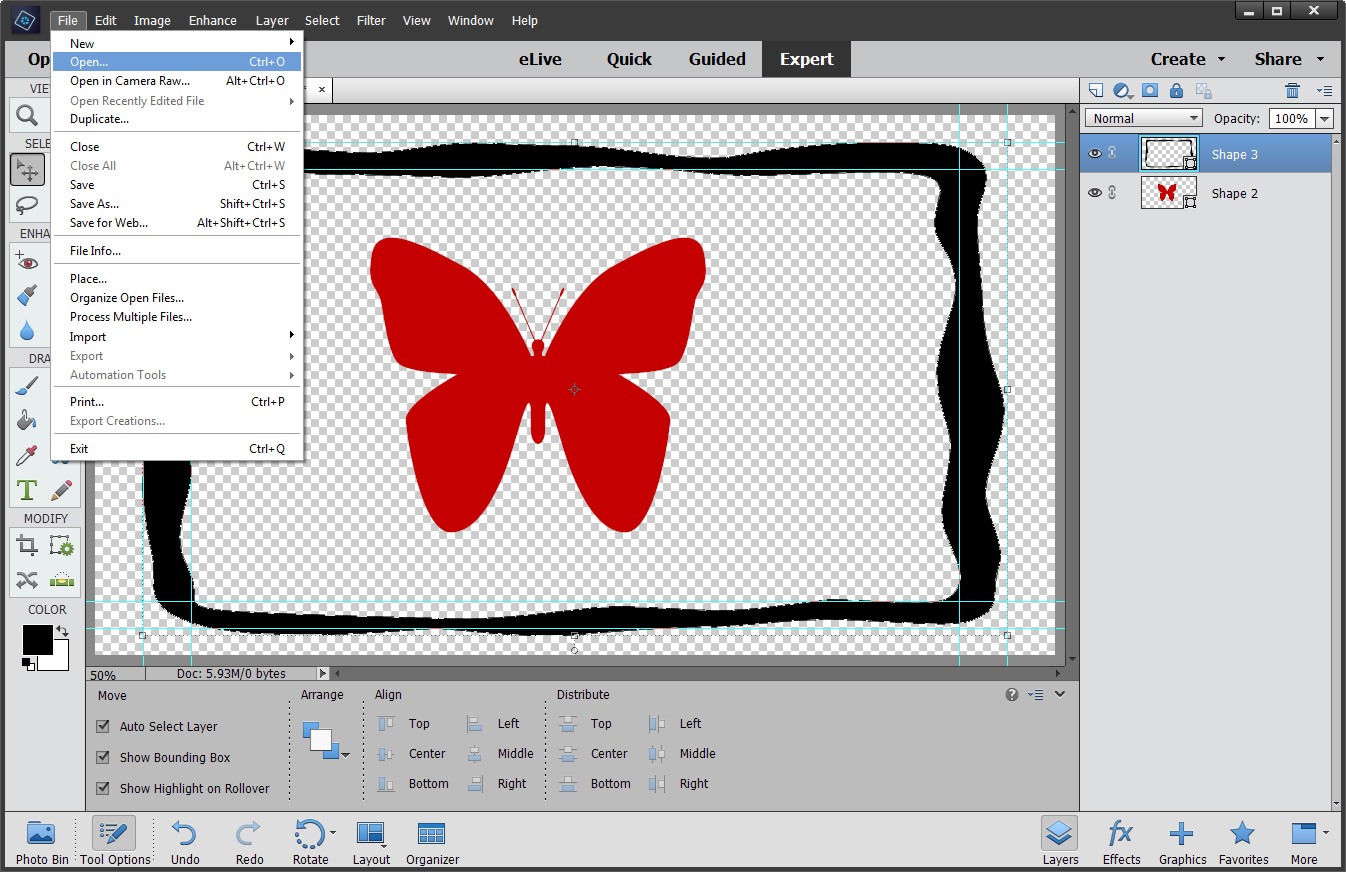
FIGURE 2-1 File > Open

FIGURE 2-2 Select Export Layers To Anime Studio.jsx
On the Mac, if you try and open the file from within Elements it will be grayed out until you change 'Enable:' from 'All Readable Documents' to 'All Documents'. You may need to click the 'Options' button (bottom left) if you don't have this option.
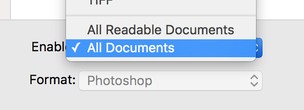
FIGURE 2-3 Change the 'Enable' type on Mac to be able to open the script
On Windows, another way would be to right-click on the script and 'open with' Elements - this will only work if Elements is already open with your artwork ready for export, as it will instantly try to do the export this way.

FIGURE 2-4 Right-click open with Elements
When you open/run the script, it will prompt you for a file name and location to save your artwork.
On the Mac you must also include .anme at the end of your file name or it will just create a folder with images.

FIGURE 2-5 Anime Studio file created
Older versions of Photoshop Elements may prompt you to trim your images - just click OK for that.
If everything works, then you should get this message.
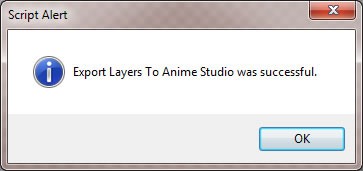
FIGURE 2-6 Once complete you should see this message
3. Import into Anime Studio
Now that your file has been created, you can import it into an existing Anime Studio file or simply open the file and use as it is.To import the file: File > Import > Anime Studio Object..
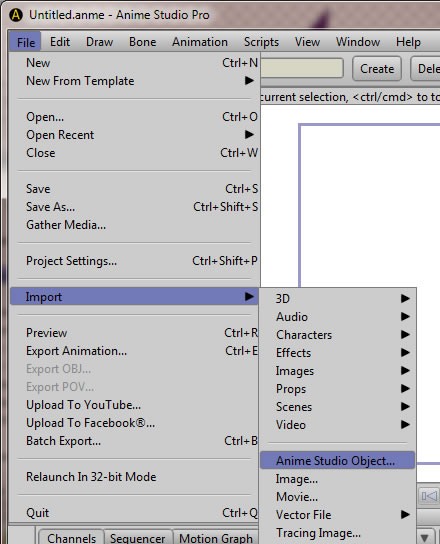
FIGURE 3-1 File > Import > Anime Studio Object...
Then navigate to your saved file and open
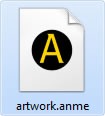
FIGURE 3-2 Select your artwork
Now you will see in the layers panel that you have a group with all your layers in
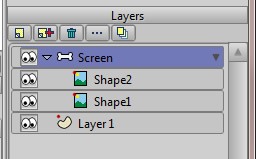
FIGURE 3-3 Artwork and layers have been imported
Rate This Tutorial
Once you have completed this tutorial, please give it a rating:
4 Rates
(5)
Comments
-
Member Since: 20 December 2015Last Logged In: 12 July 2019Comments: 2Tutorials Completed: 21Thanks for this tutorial.
Truly excellent!. I really dont know how you worked all that out. But it works.! -
Member Since: 6 July 2013Last Logged In: 26 January 2020Comments: 1Tutorials Completed: 1
Other Tutorials In This Category
-
 Tip 7 Holes In Shapes2 Rates (5)
 -
 Tip 4 Relative Keyframe2 Rates (5)
 -
 10 Handy Moho Tips10 Rates (4.6)
 -
 Tip 5 Knowing Frame 01 Rating (5)


Please use the 'reply' button on a comment if you wish to reply to someone.